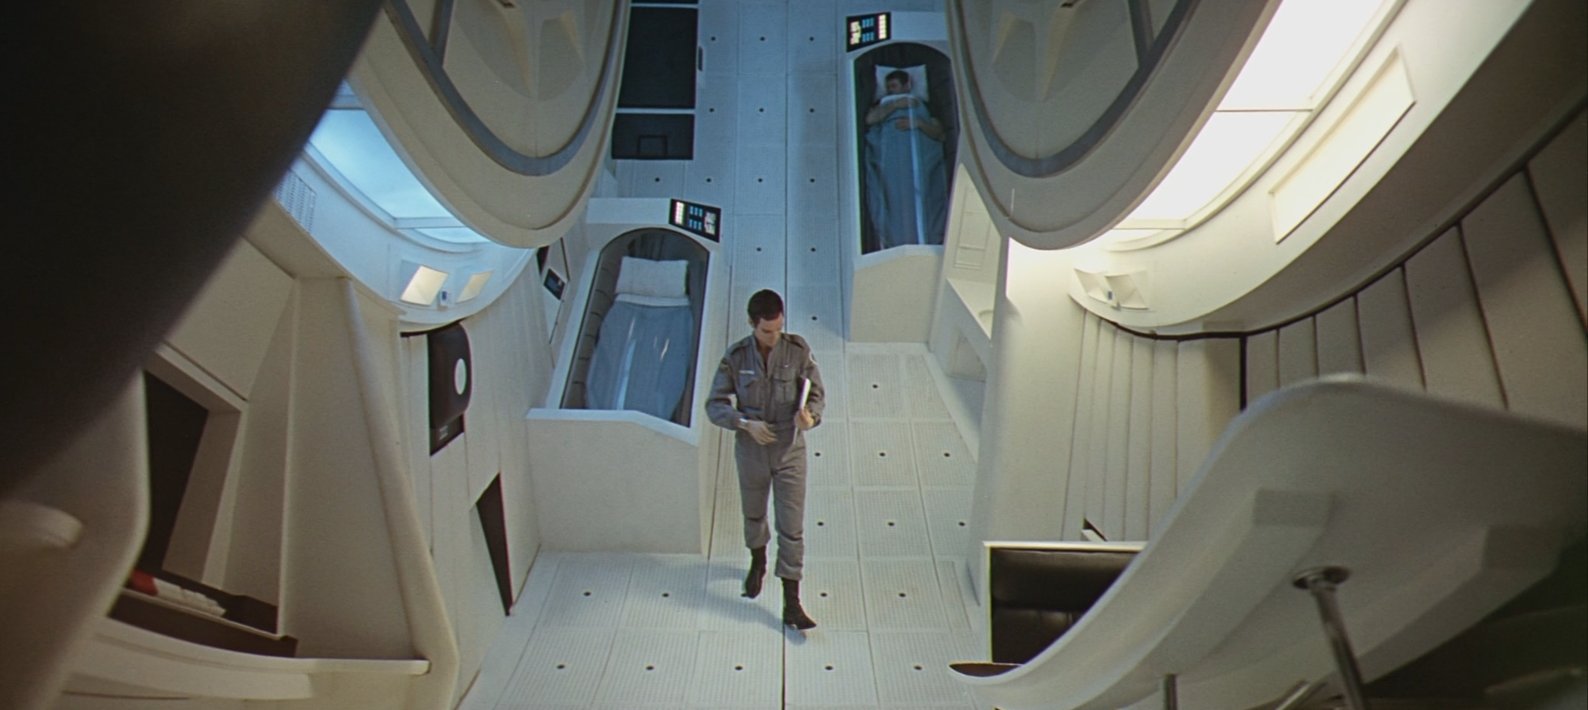
Ever since I saw 2001: A Space Odyssey, I’ve always wanted to walk around inside of an artificial gravity environment just like the bureaucrats making small-talk on Space Station 5, or Dave and Frank doing their work inside the Discovery One. The spacecraft spins around fast enough that the inhabitants are pushed against the outer wall, creating gravity through centrifugal force. I’d probably barf and have to force myself to never look out the window, but it’d be worth it. Probably.
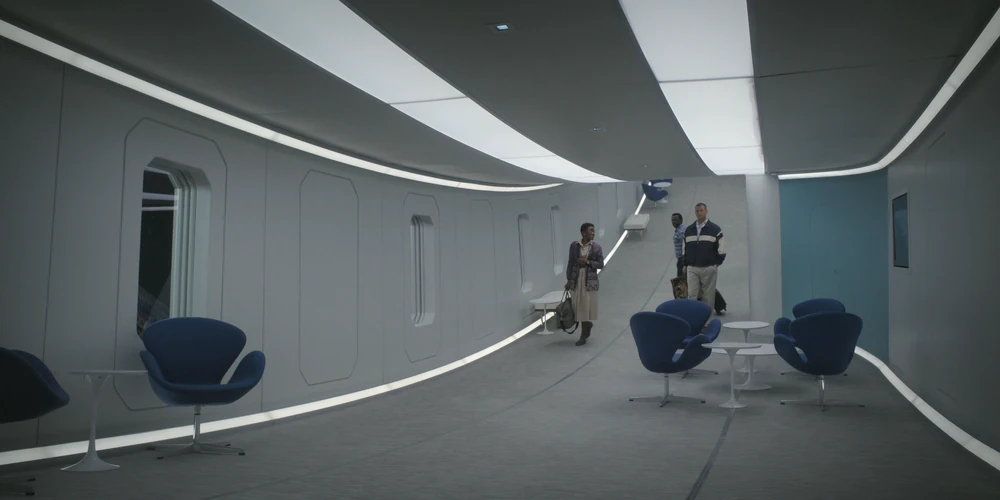
Ring space stations, and other spacecraft create their gravity through spin, have been prevalent in science-fiction for decades, and it’s still the most plausible method of creating artificial gravity for long-duration trips. The math checks out, but to work properly so inhabitants feel downward gravity equally from head to toe, the station would need to be quite large in diameter. Likely a big reason something like it hasn’t been built yet.
Anyways, it’s something I’ve always bee fascinated by. And I’m surprised there aren’t many games (that I can think of) that have recreated it.
It wasn’t until I started getting my head around 3D math fundamentals ten years ago that I attempted to get this kind of movement simulated in a first-person player controller. It still took me a while to really get this math correct, but once I landed on it, the math was super simple.
Creating a Basic Environment #
To use this system effectively, you need a cylinder or ring with normals facing inward. This makes it an “interior space” as far as 3D engines go.
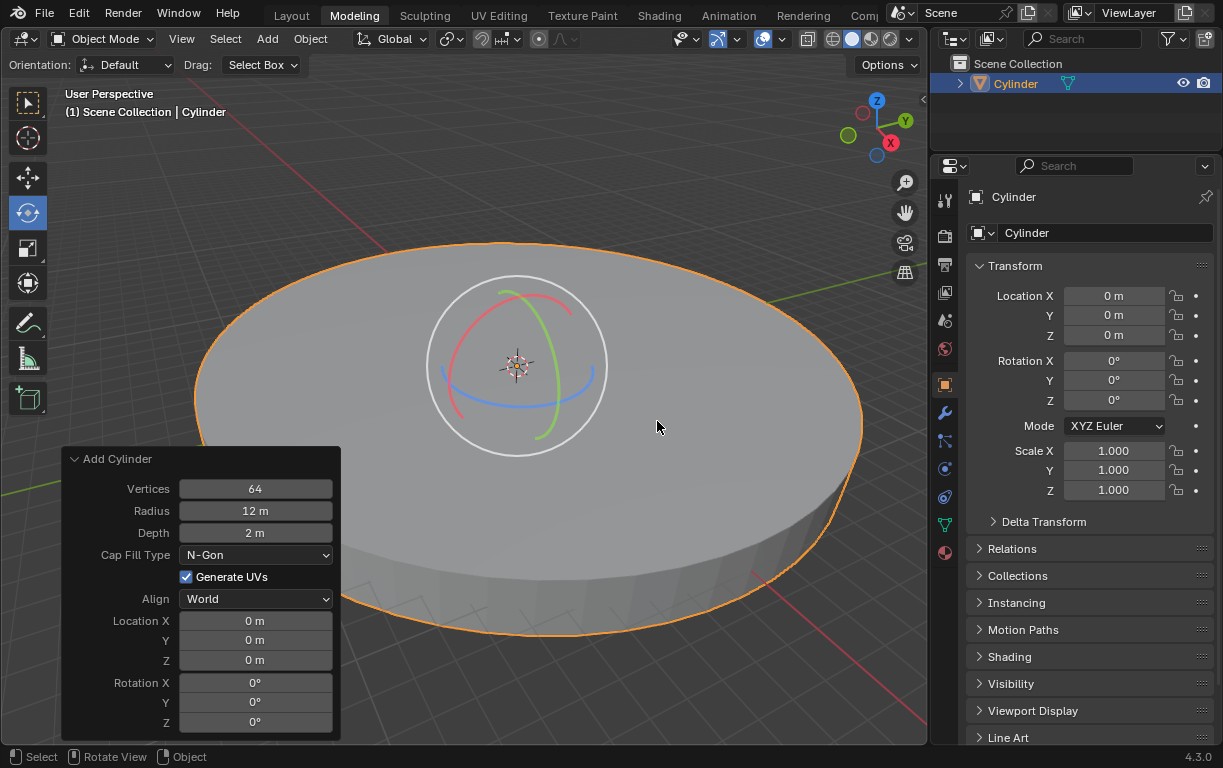
For a quick test, I start by making a Cylinder. A good starting place for size is a radius of 12 meters and a height/depth of 2 meters with 128 sides. The number of sides is important, actually, because as we’re moving around, if there’s a small number of sides, you’ll be able to see/feel the faceting. It won’t feel smooth!!
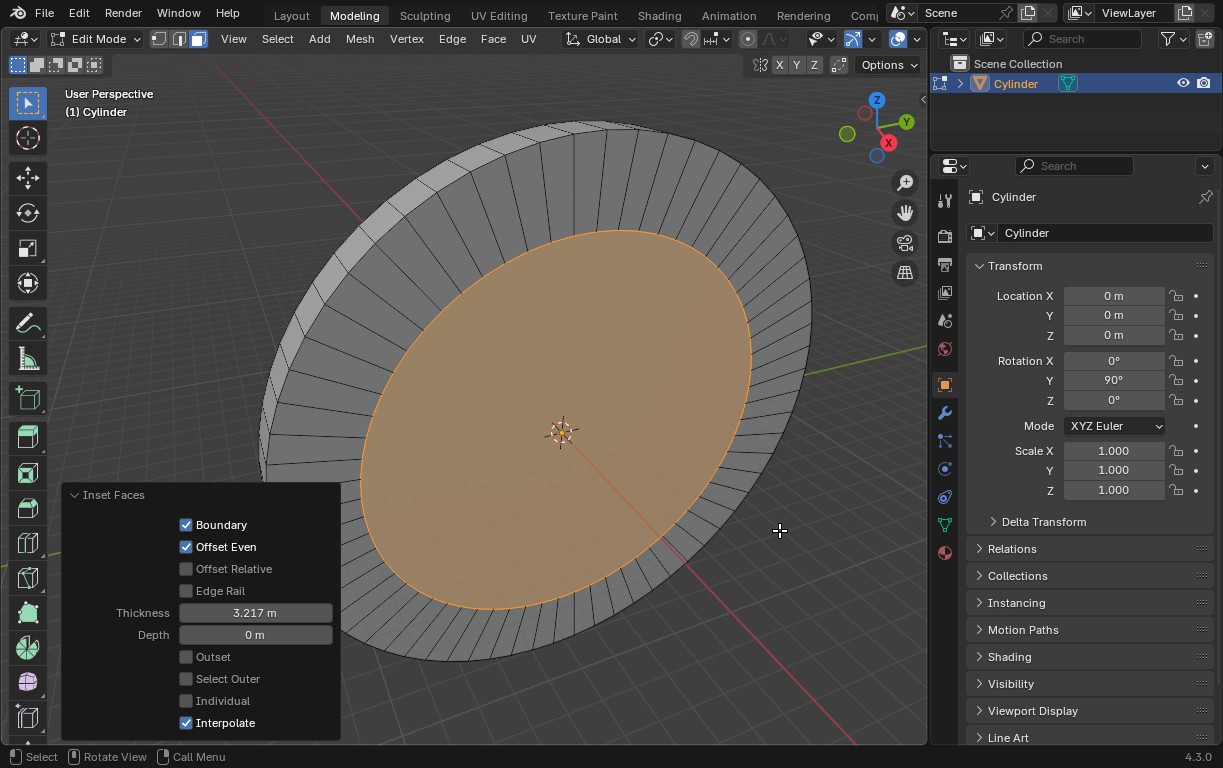
Turn it upright like a wheel and inset the two ends. Then bridge the faces so you have a four-sided torus.
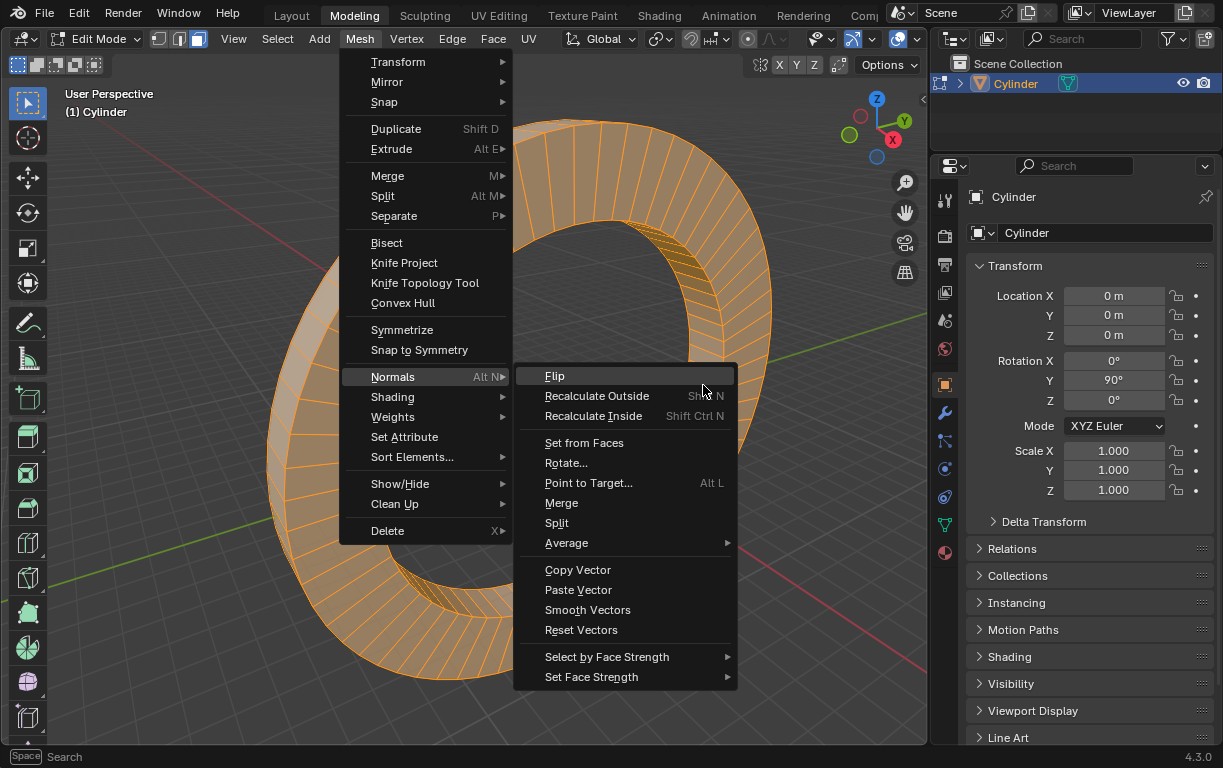
Then select all faces and flip their normals. The outie is now an innie. Export as a model your engine can parse. Done!
Create a Custom Gravity class #
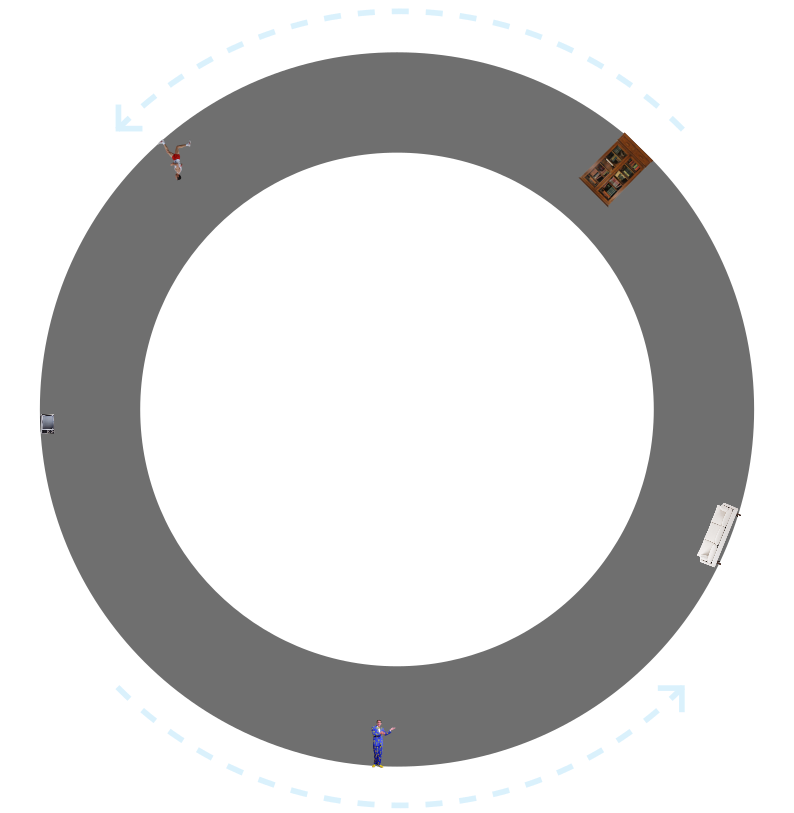
Game engines tend to assume you want gravity to be moving in one direction globally (and they’re usually right) but here, gravity changes direction as you move around the ring. So gravity can’t be a constant vector. Therefore, we need to make a globally-accessible class that gives us gravity as a function of the object’s location.
public static class Centrifuge
{
	/// <summary>
	/// Gets the center of gravity for the player's position
	/// </summary>
	/// <param name="myPos">Player's position</param>
	/// <returns>Center point of gravity</returns>
	public static Vector3 GravityCenter (Vector3 myPos)
	{
		return myPos.z * Vector3.forward;
	}

	/// <summary>
	/// Gets the direction of gravity from the player's position
	/// </summary>
	/// <param name="myPos">Player's position</param>
	/// <returns>Direction of gravity as a normalized Vector</returns>
	public static Vector3 Gravity (Vector3 myPos)
	{
		return (Centrifuge.GravityCenter(myPos) - myPos).normalized;
	}

	/// <summary>
	/// Takes the given Transform and orients it towards the axis of the
	/// centrifuge's rotation
	/// </summary>
	/// <param name="trans">Transform to rotate</param>
	public static void OrientToFloor (Transform trans)
	{
		Vector3 gVector = Centrifuge.Gravity(trans.position);
		trans.rotation = Quaternion.FromToRotation(trans.up, gVector) * trans.rotation;
	}
}
I’ll go over each of these functions one by one:
GravityCenter(Vector3 myPos)gets the world position of the axis of rotation – the center of spin – with the assumption that the station is rotating on one axis and that center is located at the world origin ([0, 0, 0]). If we just pass in [0, 0, 0] all the time, gravity will be spherical, moving directly away from the center. By moving that origin to match the affected object’s Z position (Z being the axis the station is rotating on), we make sure gravity is always down towards the inner wall of the ring.Gravity(Vector3 myPos)is what we’ll call for any object that should be affected by gravity in our game. We give this function the object’s current location and it gives us back the world direction that gravity moves towards. You’ll multiply this by the gravity strength on the object’s tick/update.OrientToFloor(Transform trans)will gradually rotate the given Transform so that its Up Vector is pointing away from gravity based on its location.
Movement in the Player Class #
The player class looks similar to a lot of first-person player controllers: when the player gives movement input, it takes that 2D input (WASD, analogue stick, etc.) and translates it to 3D movement, then negotiates collisions with obstacles, walls, floors. The big difference here is that, as the player moves around the inside of the centrifuge, they will be changing their orientation so that the axis of rotation is always directly up. What’s forwards and sideways is shifting.
This is the important bit: how the player moves around:
/// <summary>
/// Updates the player's position, rotation, and velocity
/// </summary>
void UpdateMotor ()
{
	// Get gravity vector (which is normalized), multiply it by the
	// strength of gravity, and cache it
	gravVector = Centrifuge.Gravity(myTrans.position) * Physics.gravity.y;

	// Cast a ray towards the ground to see if the player is grounded
	isGrounded = Physics.Raycast(myTrans.position, gravVector.normalized, groundHeight);

	// Rotate the body by "rotationRate" (default is 10.f) to stay upright
	Vector3 gravityForward = Vector3.Cross(gravVector, myTrans.right);
	Quaternion targetRotation = Quaternion.LookRotation(gravityForward, -gravVector);
	rigidbody.rotation = Quaternion.Lerp(rigidbody.rotation, targetRotation, rotationRate * Time.fixedDeltaTime);

	// Add velocity change for movement on the player's local horizontal plane
	Vector3 forward = Vector3.Cross(myTrans.up, -lookTrans.right).normalized;
	Vector3 right = Vector3.Cross(myTrans.up, lookTrans.forward).normalized;
	Vector3 targetVelocity = (forward * inputVector.y + right * inputVector.x) * targetSpeed;
	Vector3 localVelocity = myTrans.InverseTransformDirection(rigidbody.linearVelocity);
	moveVelocity = myTrans.InverseTransformDirection(targetVelocity) - localVelocity;

	// The velocity change is clamped based on if they're in the air or ground
	moveVelocity = Vector3.ClampMagnitude(moveVelocity, isGrounded ? currentSettings.groundControl : currentSettings.airControl);
	moveVelocity.y = 0f;
	moveVelocity = myTrans.TransformDirection(moveVelocity);
	rigidbody.AddForce(moveVelocity, ForceMode.VelocityChange);

	// Add gravity
	rigidbody.AddForce(gravVector * rigidbody.mass);
}
This is a very simple player controller that doesn’t have support for things like stairs or sliding, of course, just enough to demonstrate basic centrifugal movement. It’s not that much more complicated than your typical character controller, but you do have to do some conversions with the player’s rotation to make sure you’re moving based on the player’s unusual orientation.
Performing Mouselook #
Naturally, this will also also cause issues for mouselook, in the case of a first- or third-person game. So camera rotation needs to be handled slightly differently:
/// <summary>
/// Update the mouselook input each cycle
/// </summary>
void UpdateMouseLook ()
{
	// Take mouse input
	var mouseRot = new Vector2 (
		input.MouseAxis.y * sensitivity.y,
		input.MouseAxis.x * sensitivity.x
	);

	// Include this mouse input into the averaging pool
	inputList.Add(mouseRot);
	if (inputList.Count > framesOfSmoothing)
		inputList.RemoveAt(0);

	// Get average mouse input
	var mouseAvg = Vector2.zero;

	foreach (Vector2 inp in inputList)
	{
		mouseAvg += inp;
	}

	mouseAvg /= inputList.Count;

	// Determine the target rotation
	cameraTargetRot *= Quaternion.Euler(-mouseAvg.x, mouseAvg.y, 0f);
	cameraTargetRot = Quaternion.Euler(
		cameraTargetRot.eulerAngles.x,
		cameraTargetRot.eulerAngles.y,
		0f);

	// Clamp the up/down rotation
	if (clampPitch)
		cameraTargetRot = ClampRotationAroundXAxis(cameraTargetRot);

	// Apply the rotation to the camera
	cameraTrans.localRotation = cameraTargetRot;
}
Mostly standard mouselook code, but to avoid rotation freakouts and gimbal lock, I both average out the player’s mouse input and apply all rotations by passing the angle changes as a Quaternion.
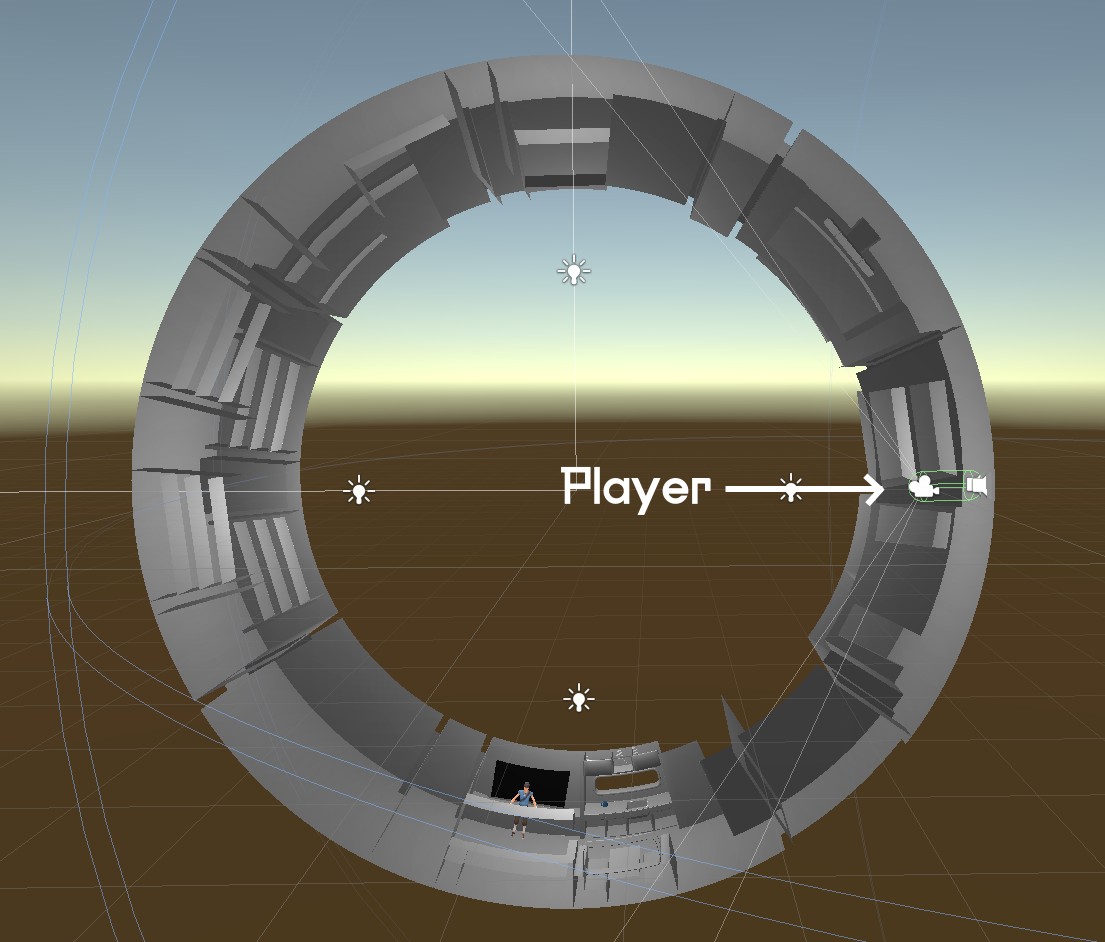
That’s all there is to it!
“Wow, neat! Do you have any advice on making cylindrical environments?”
~ You, presumably
Honestly, it’s a tedious nightmare. Positioning things? Fine, easy. Modeling geometry that’s clean all around the circumference while oriented so it looks “upright” when you walk to it? It makes crafting props and shapes built into the world three times harder than with normal, one-way gravity environments. There are no good tools that I know of that will let you model this way, so you just have to be careful about how you construct your ring interior, counting your cylinder sides and making things line up perfectly.
Hope this article was informative! Let me know if you have any questions or need to clarify some part.
